
Render Images to Pages with Astros Static Serving and Static Assets


There are two ways that Astro gives us to serve static content to our users. The first unoptimized way is to just put your assets in the public folder of your application. This will make your assets publicly available. If you had asset.png stored in your public folder you would access in your code with /asset.png.
When you use the public folder, however, you don't get any optimization and Astro will just serve what is in there no matter what. If you'd like to optimize your assets Astro gives you an assets folder that you can use inside src. Moving your asset there in tandem with the Image component from astro:assets will give you an optimized webp version of the image you want to load. You'll also be able to control the width/height and quality that is loaded.
Challenge
It's time for you to test what you know so far. You've learned about Astro pages, components, styling, and static images.
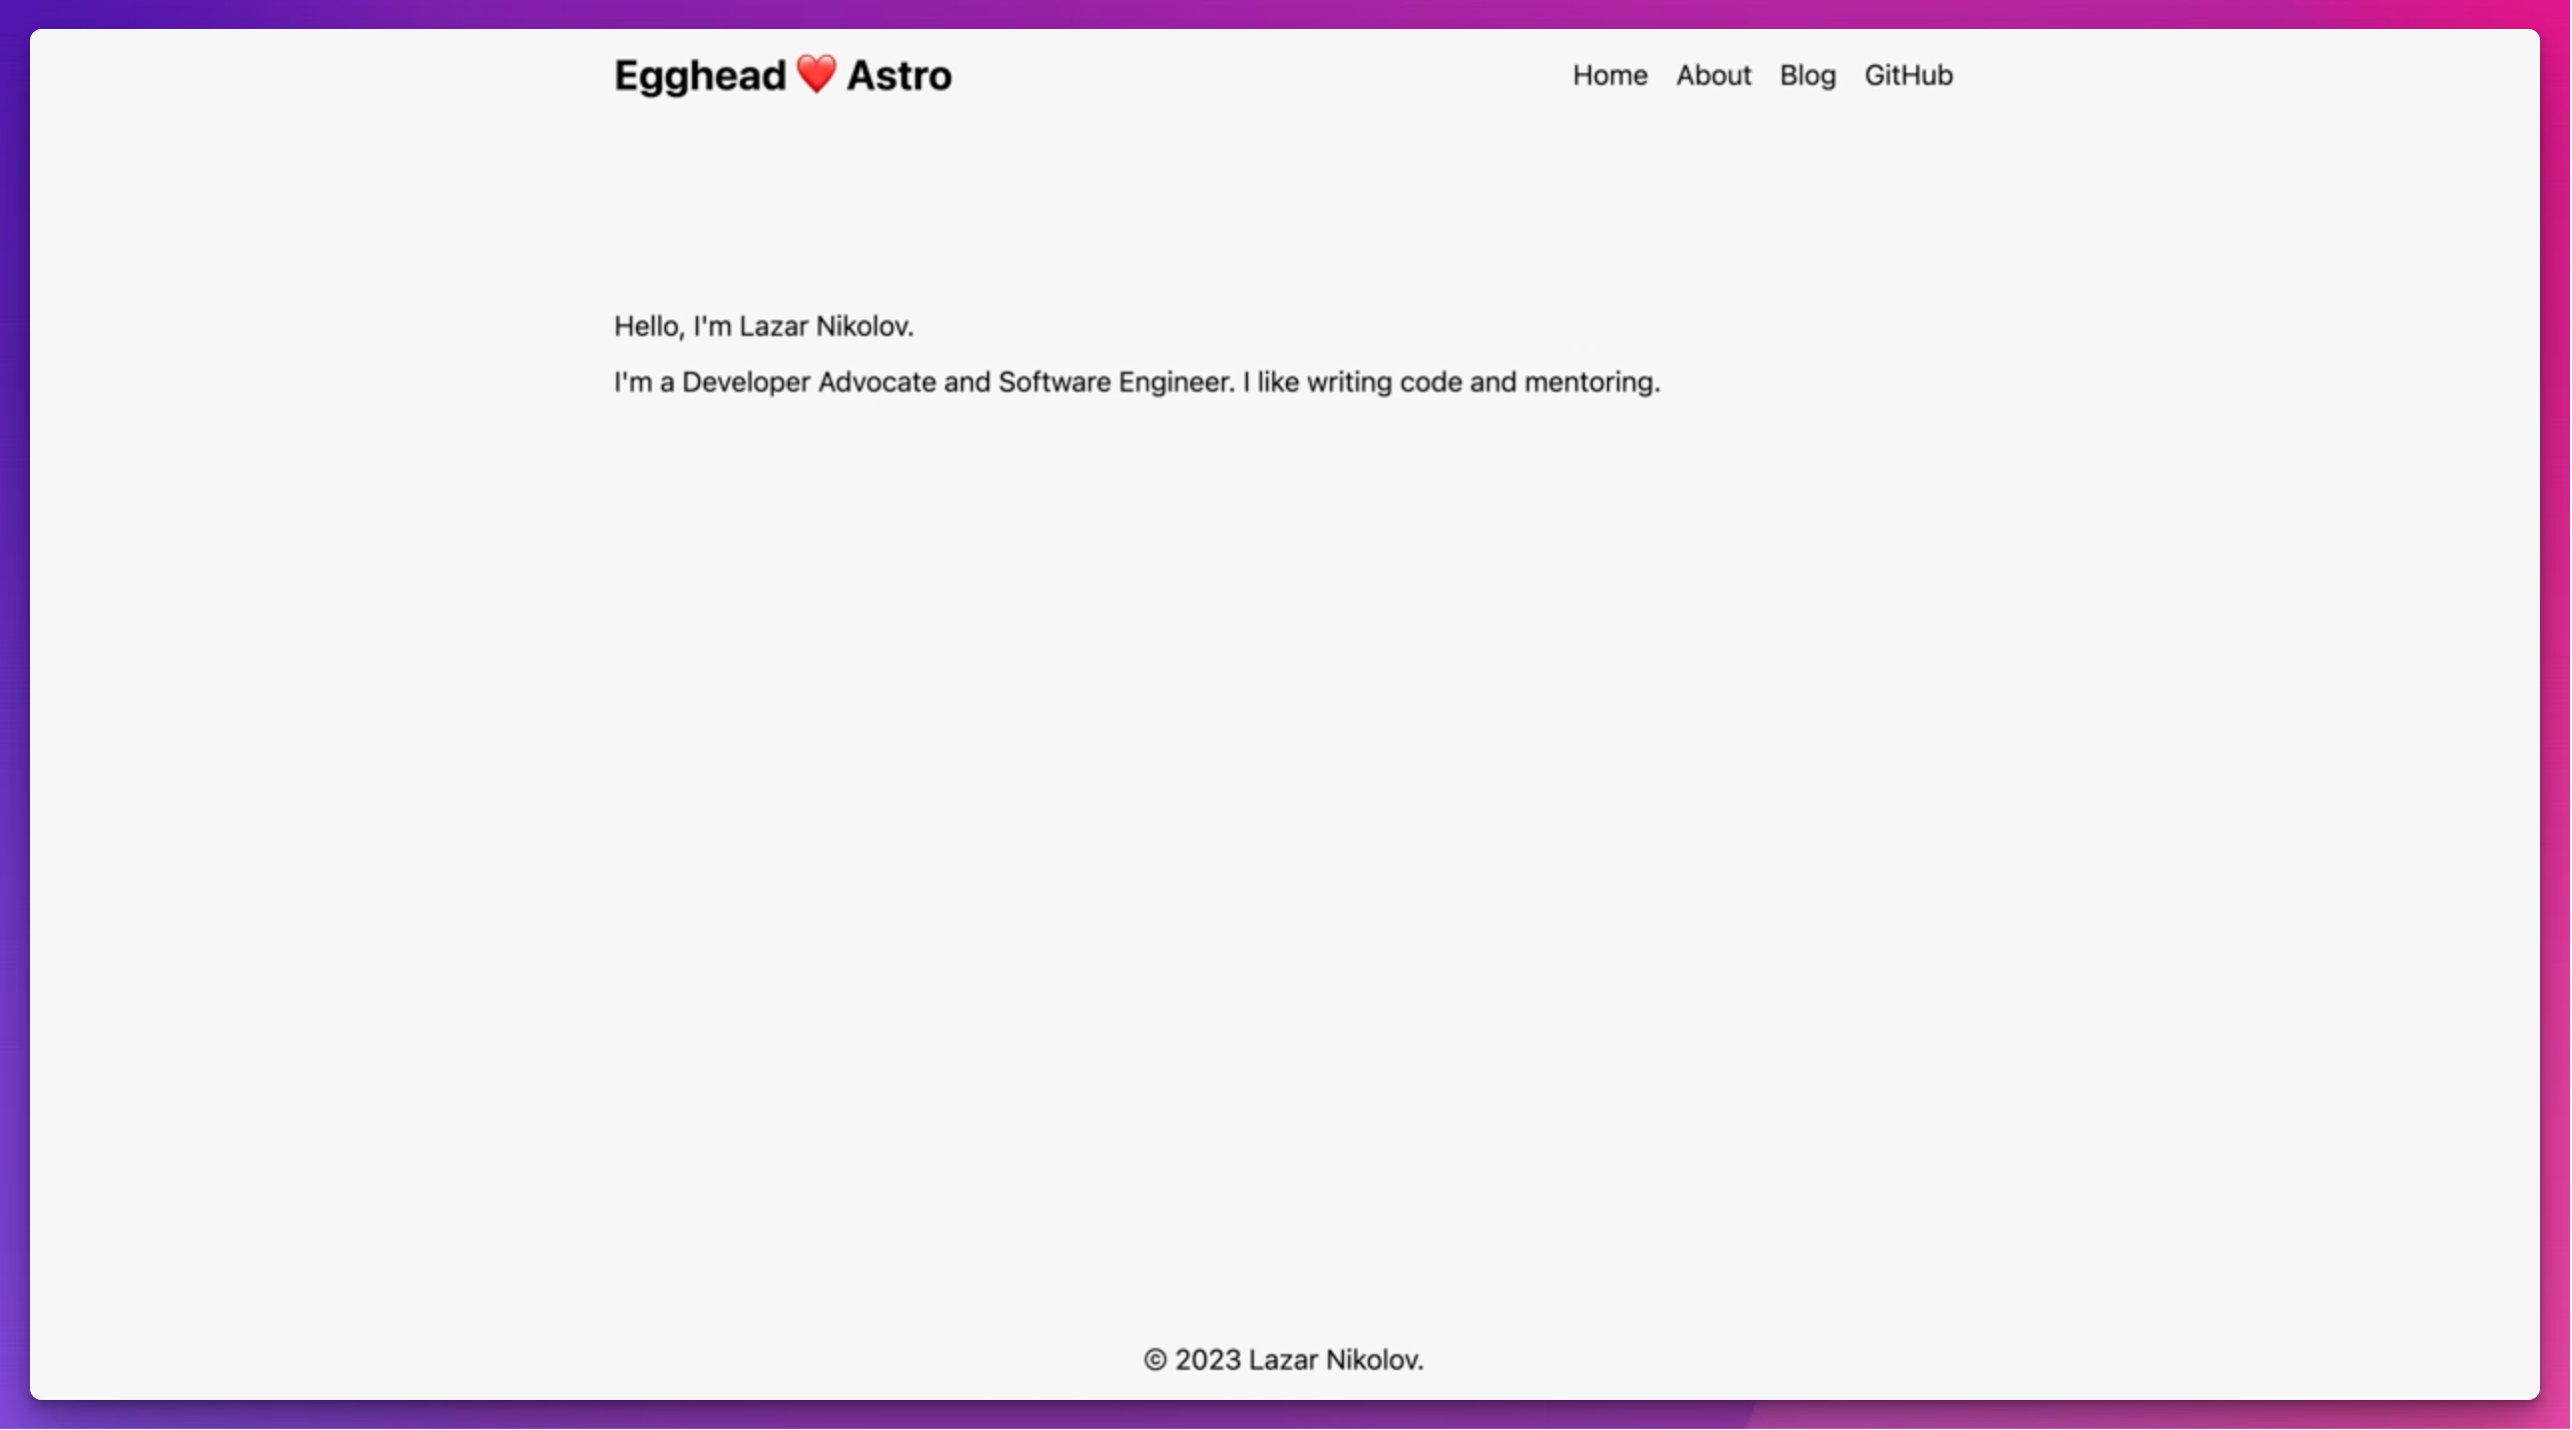
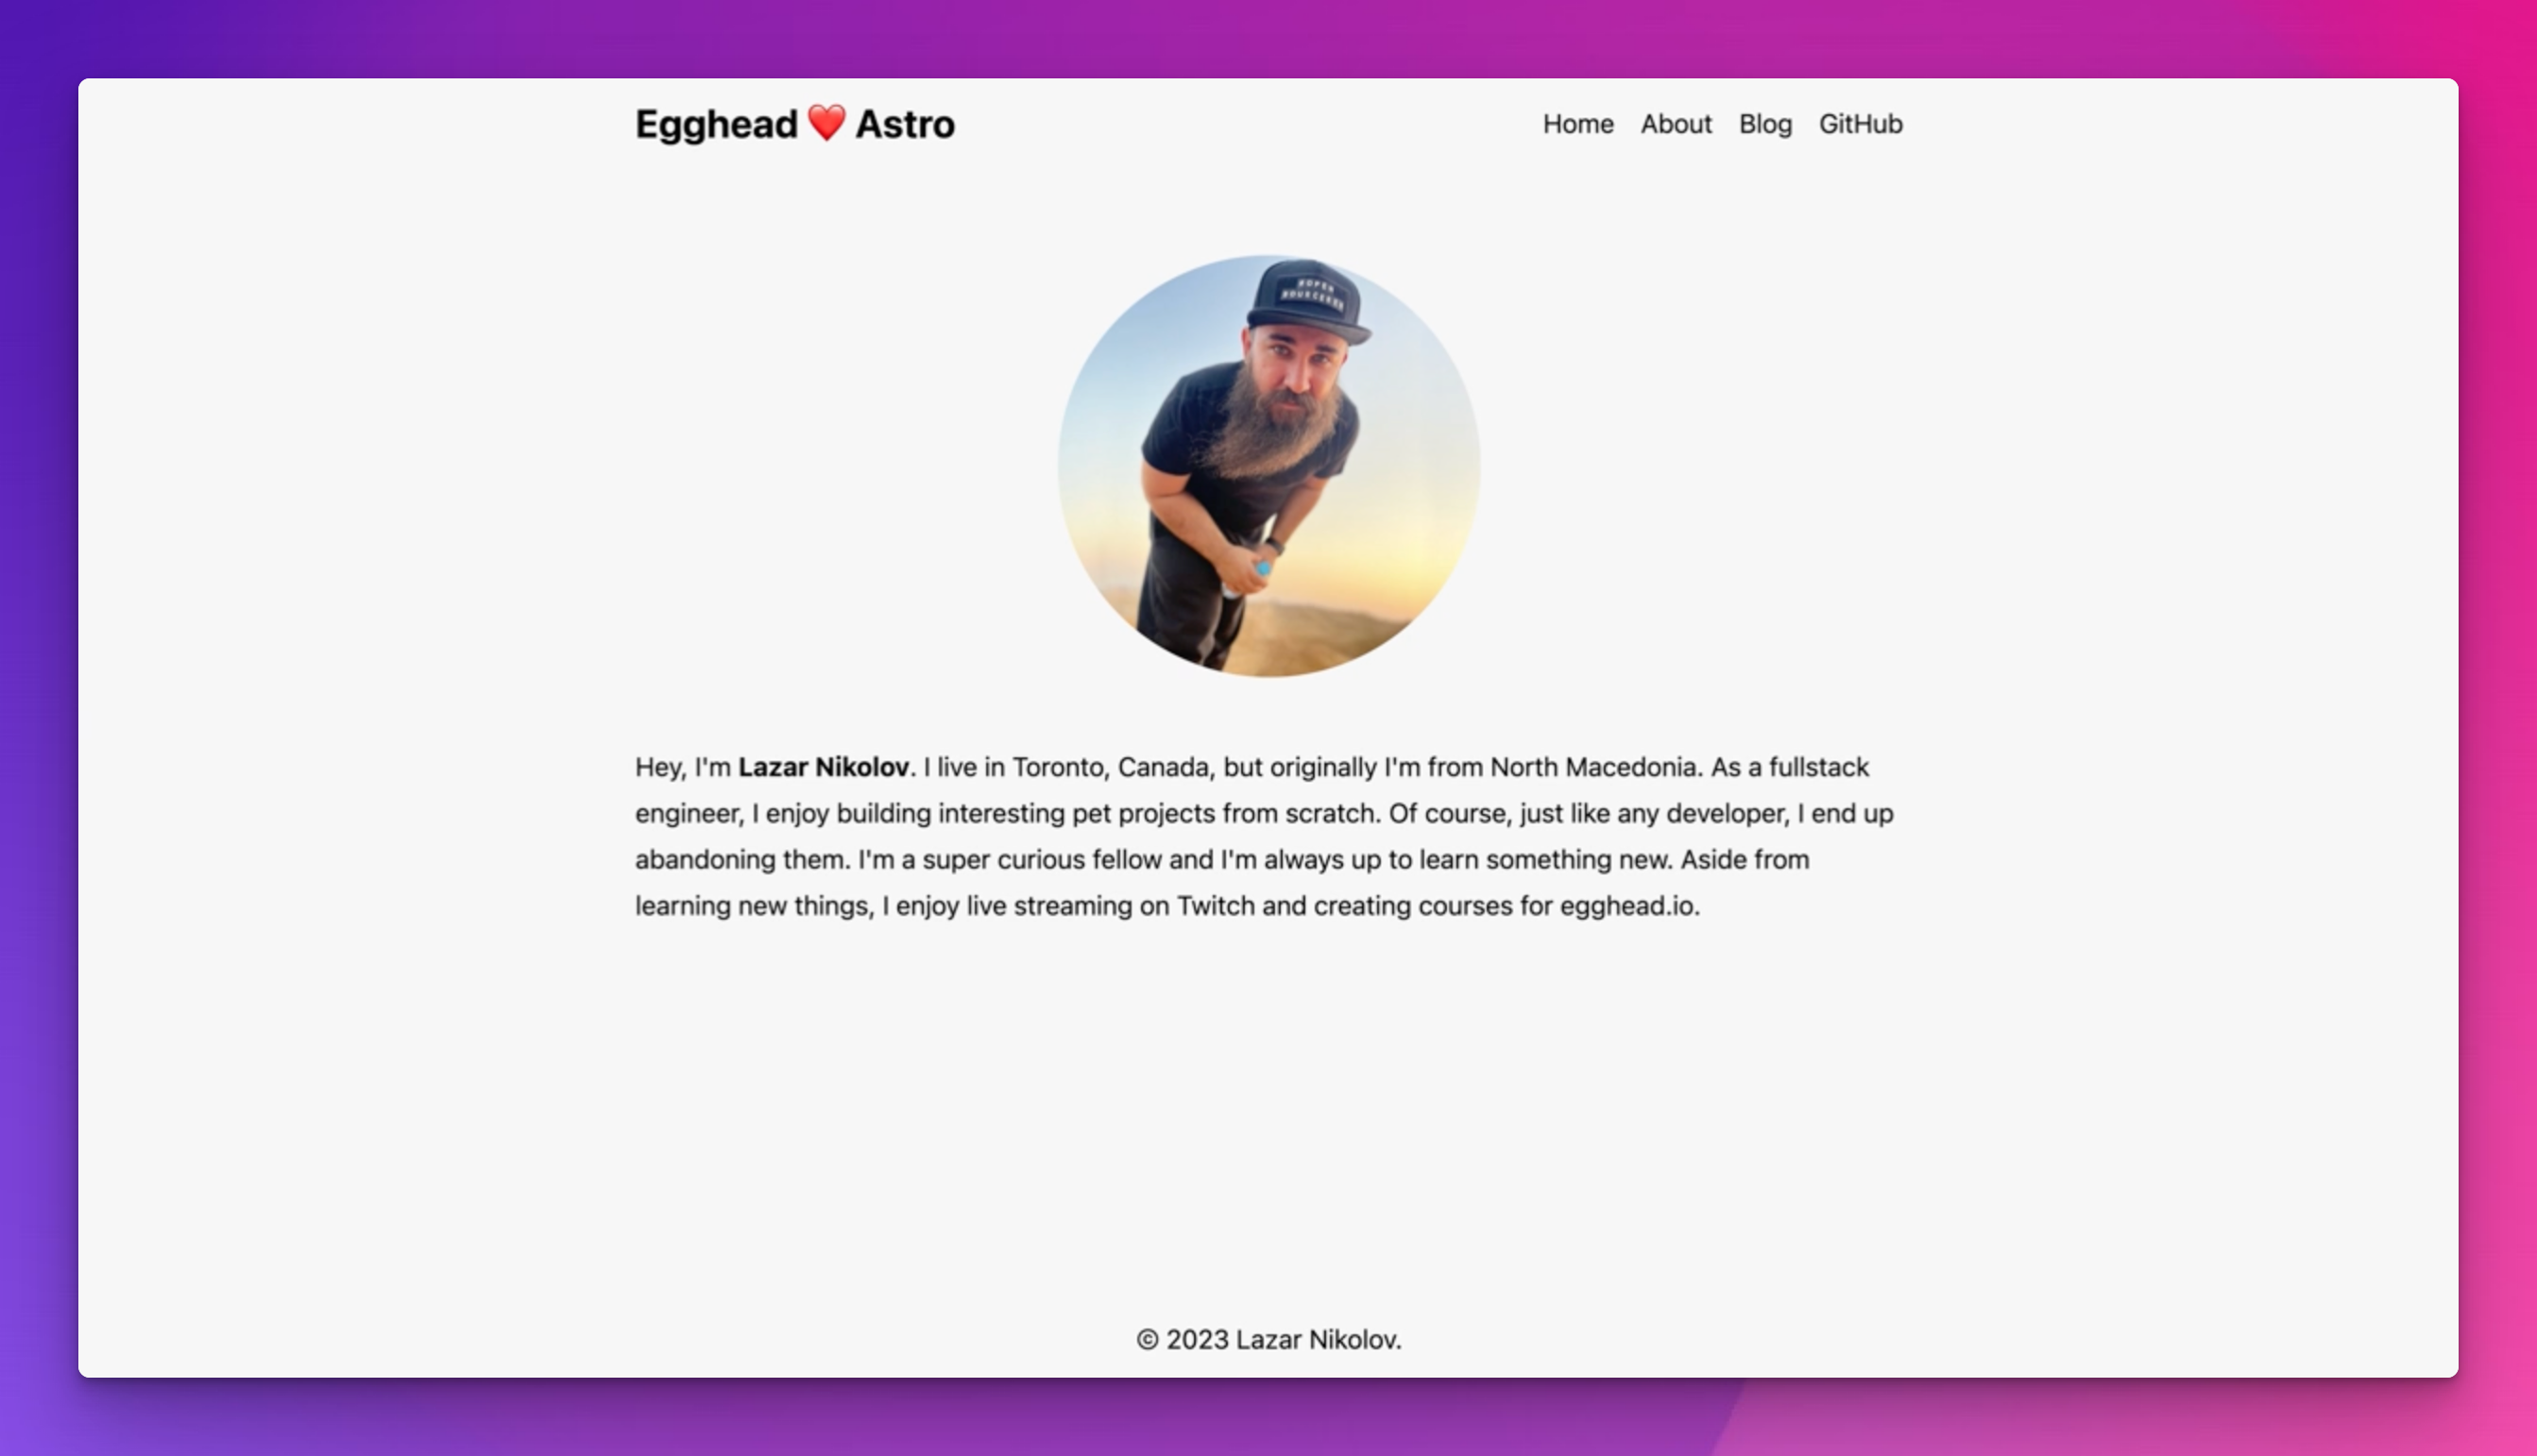
Use your knowledge to modify the home and about pages to look like the screenshots below.
If you get stuck you can check the code linked on the lesson page.
Lazar: [0:00] Every website serves at least some form of static content, like the favicon, the robots.txt file, static images, etc. In Astro, we can serve static files by simply putting them into the public directory. We can already see that there's the favicon.svg file inside. Let's also add a personal photo for our About page. I'm going to paste a photo of mine into the public directory.
[0:26] Now, let's open the About page. All files within the public directory can be accessed by appending them to the base URL. For example, if I open localhost on the Port 4321, then append /lazar.jpg, I'm going to see my photo. You should see your photo if you change the file name too.
[0:46] Since this is the URL of our image, let's add an image tag above the paragraph and set its source to /lazar.jpg, or in your case, your photo name. Don't forget to also add an alt text.
[1:01] Immediately we're going to see the photo above the paragraph. This is how we can serve static images, which is very straightforward, but the drawback of serving images statically is the responsibility of optimizing them beforehand.
[1:14] See, our visitors will be accessing the website from laptops, desktop computers, phones, tablets, etc., which means they might not need to load a larger image than they need to. Luckily, Astro has a feature called Assets that automatically optimizes images. In order to optimize our profile photo, let's create a directory called Assets into the source directory and move the photo there.
[1:39] Astro scans and optimizes everything that's put inside of the Assets folder automatically for us. In order to use the auto-optimized image, we're going to need to import the image component from astro:assets package. This is not a package that you need to install. It's already there.
[1:59] While we're here, let's also import the profile picture. I'm going to import, for example, Lazar's photo from assets/lazar.jpg. Yes, Astro allows us to import images and assets like we're importing JavaScript files. Now, let's replace the image with the image component and also replace the URL with our imported file.
[2:27] I'm going to do Lazar's photo. If we save and refresh, we're going to see the image is still being loaded, but there are some differences. Let's inspect the image. Open the network tab and hit refresh again. We can see that our photo is now a WebP image. It's not a JPEG. That's the automatic optimization in Play.
[2:48] The WebP format is lighter than JPEG and all modern browsers support it. Astro did that automatically for us. If you go back to the elements page, we're going to see that the URL of our image looks really complex. As you can see, there is a width attribute, a height attribute, the loading, and decoding, but we didn't add them. It's all done by Astro.
[3:10] These attributes define the size of the image and also make it lazy-loaded. If you want to change the size, we can simply set the width or height property to the image tag.
[3:20] For example, let's set the width to 512 pixels. We can see the image is about half of the current page width, but it does look a little blurry. We can also set the quality prop, which can either be a number from to 100, that indicates a percentage of quality or one of these values. Low, mid, high, or max. Let's pick the max quality.
[3:44] Of course, just like any other HTML element, we can use the class attribute to append some classes. Let's add the tailwind class rounded full. This makes our image circular.
[3:59] Let's recap. Astro makes it easy for us to serve static files. Everything placed inside of the public folder will be served statically and accessed through the base domain. If you want to serve images statically, Astro goes even further by automatically optimizing them with the assets feature.
[4:17] To use this feature, we moved our profile photo from the public folder to the assets folder inside of the source. Astro comes with its own image component, so we imported it from the Astro assets package and replaced our image element with it.
[4:32] Since we moved the photo out of the public folder, we can't access the photo with the URL anymore, so we needed to import it and replace the source of the image with the import. Furthermore, we optimize the image by explicitly setting its width and quality props.
[4:50] Now it's time for the first challenge. So far, we've learned how to add pages, use tailwind, create components, and add images to the pages. I think you're ready to take on the first challenge, which is modifying the Home page to look like this, and the About page to look like this.
[5:12] Take your time, make the necessary changes, and proceed to the next lesson. If you get stuck, feel free to check the code. The link will be in the description of the lesson.

Member comments are a way for members to communicate, interact, and ask questions about a lesson.
The instructor or someone from the community might respond to your question Here are a few basic guidelines to commenting on egghead.io
Be on-Topic
Comments are for discussing a lesson. If you're having a general issue with the website functionality, please contact us at support@egghead.io.
Avoid meta-discussion
Code Problems?
Should be accompanied by code! Codesandbox or Stackblitz provide a way to share code and discuss it in context
Details and Context
Vague question? Vague answer. Any details and context you can provide will lure more interesting answers!